 About Us
Prowler App
Walkthrough video onboarding an AWS Account using Assumed Role.
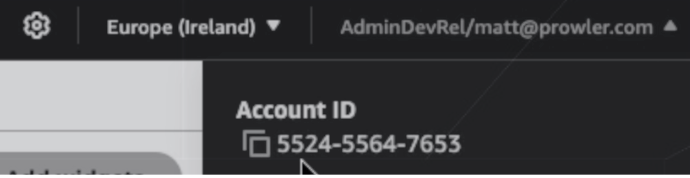
Step 1: Get Your AWS Account ID
- Log in to the AWS Console
- Locate your AWS account ID in the top-right dropdown menu
Step 2: Access Prowler Cloud or Prowler App
- Navigate to Prowler Cloud or launch Prowler App
-
Go to “Configuration” > “Cloud Providers”

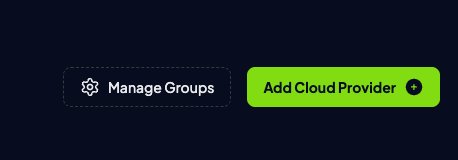
-
Click “Add Cloud Provider”
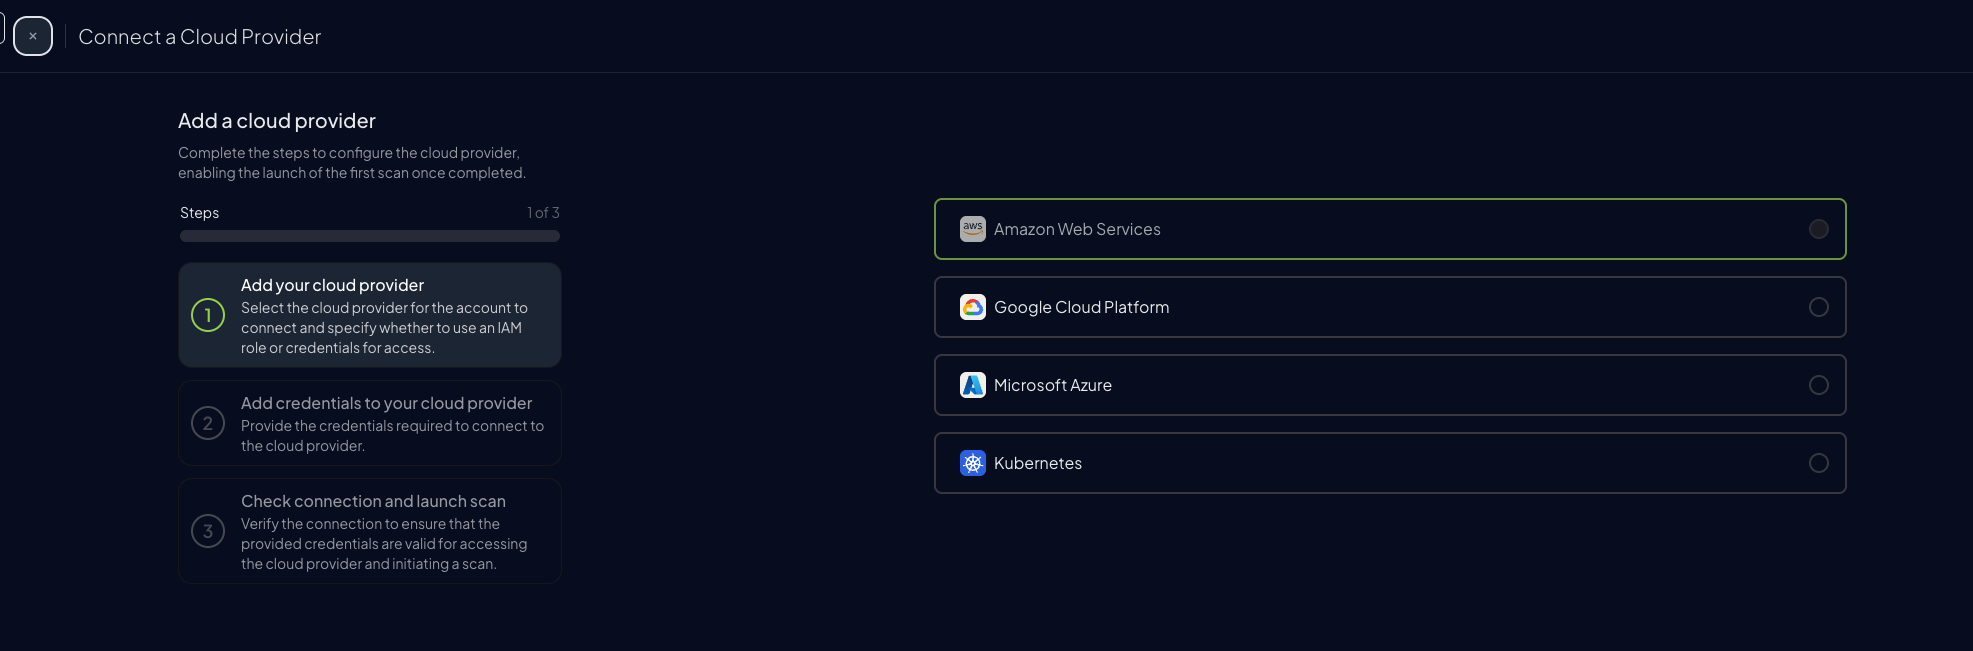
-
Select “Amazon Web Services”
-
Enter your AWS Account ID and optionally provide a friendly alias
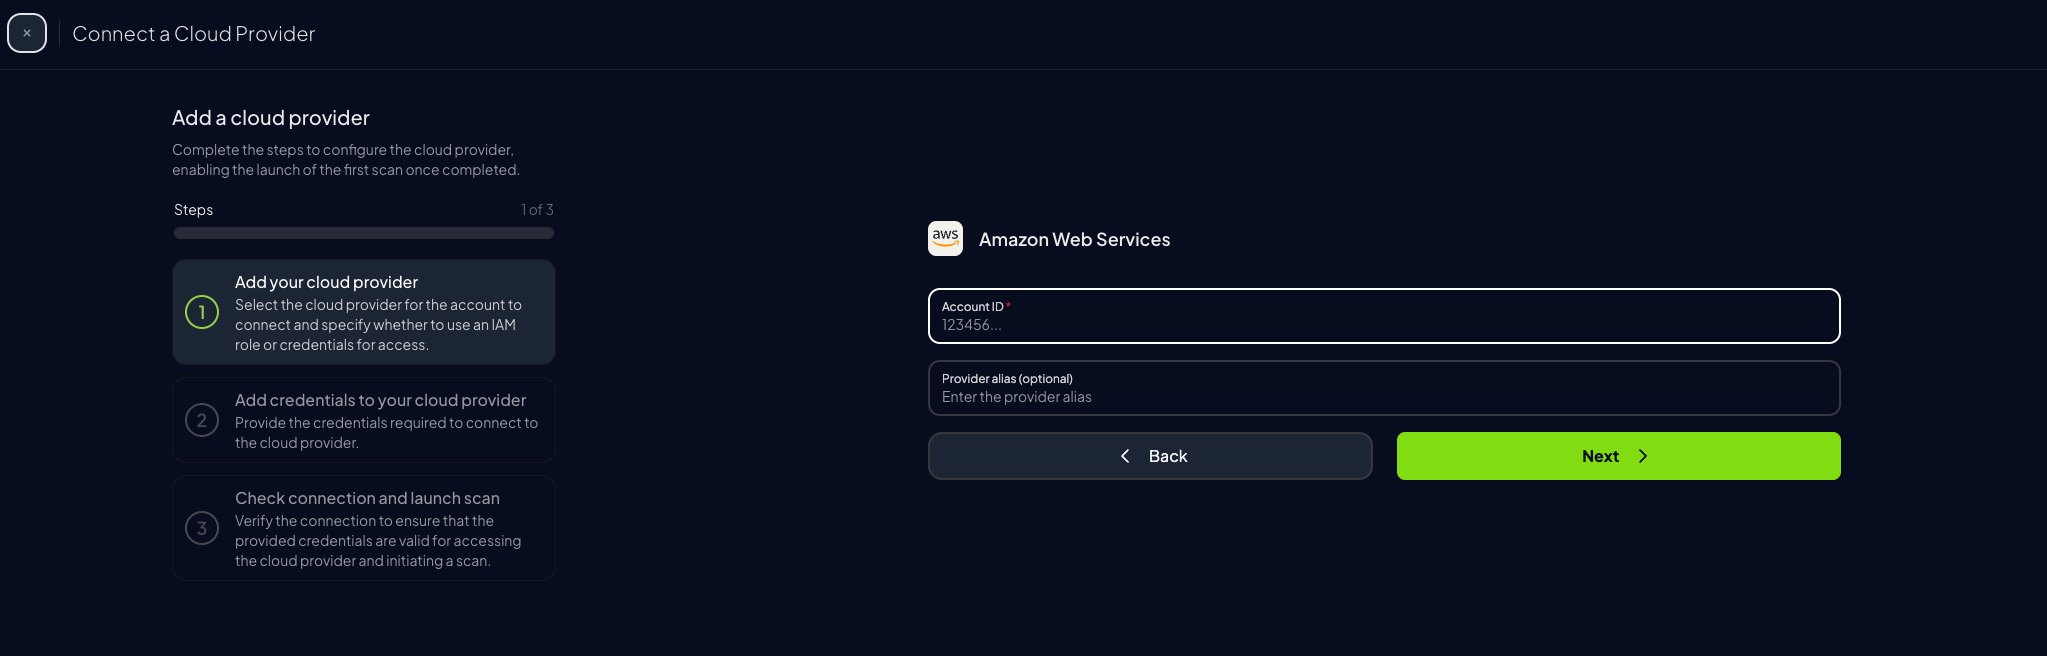
-
Choose the preferred authentication method (next step)
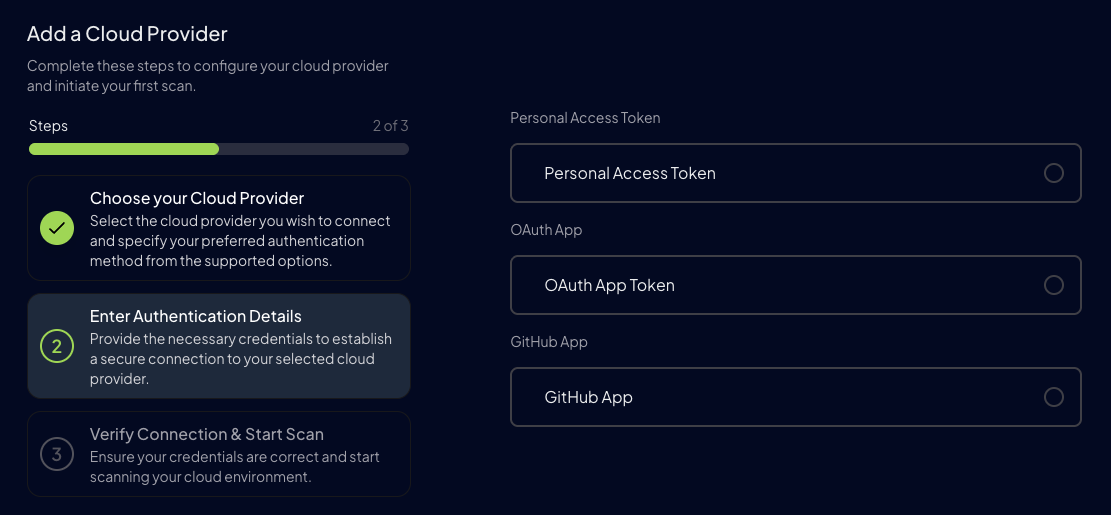
Step 3: Set Up AWS Authentication
Before proceeding, choose the preferred authentication mode: Credentials- Quick scan as current user
- No extra setup
- Credentials time out
- Preferred Setup
- Permanent Credentials
- Requires access to create role
Assume Role (Recommended)
This method grants permanent access and is the recommended setup for production environments.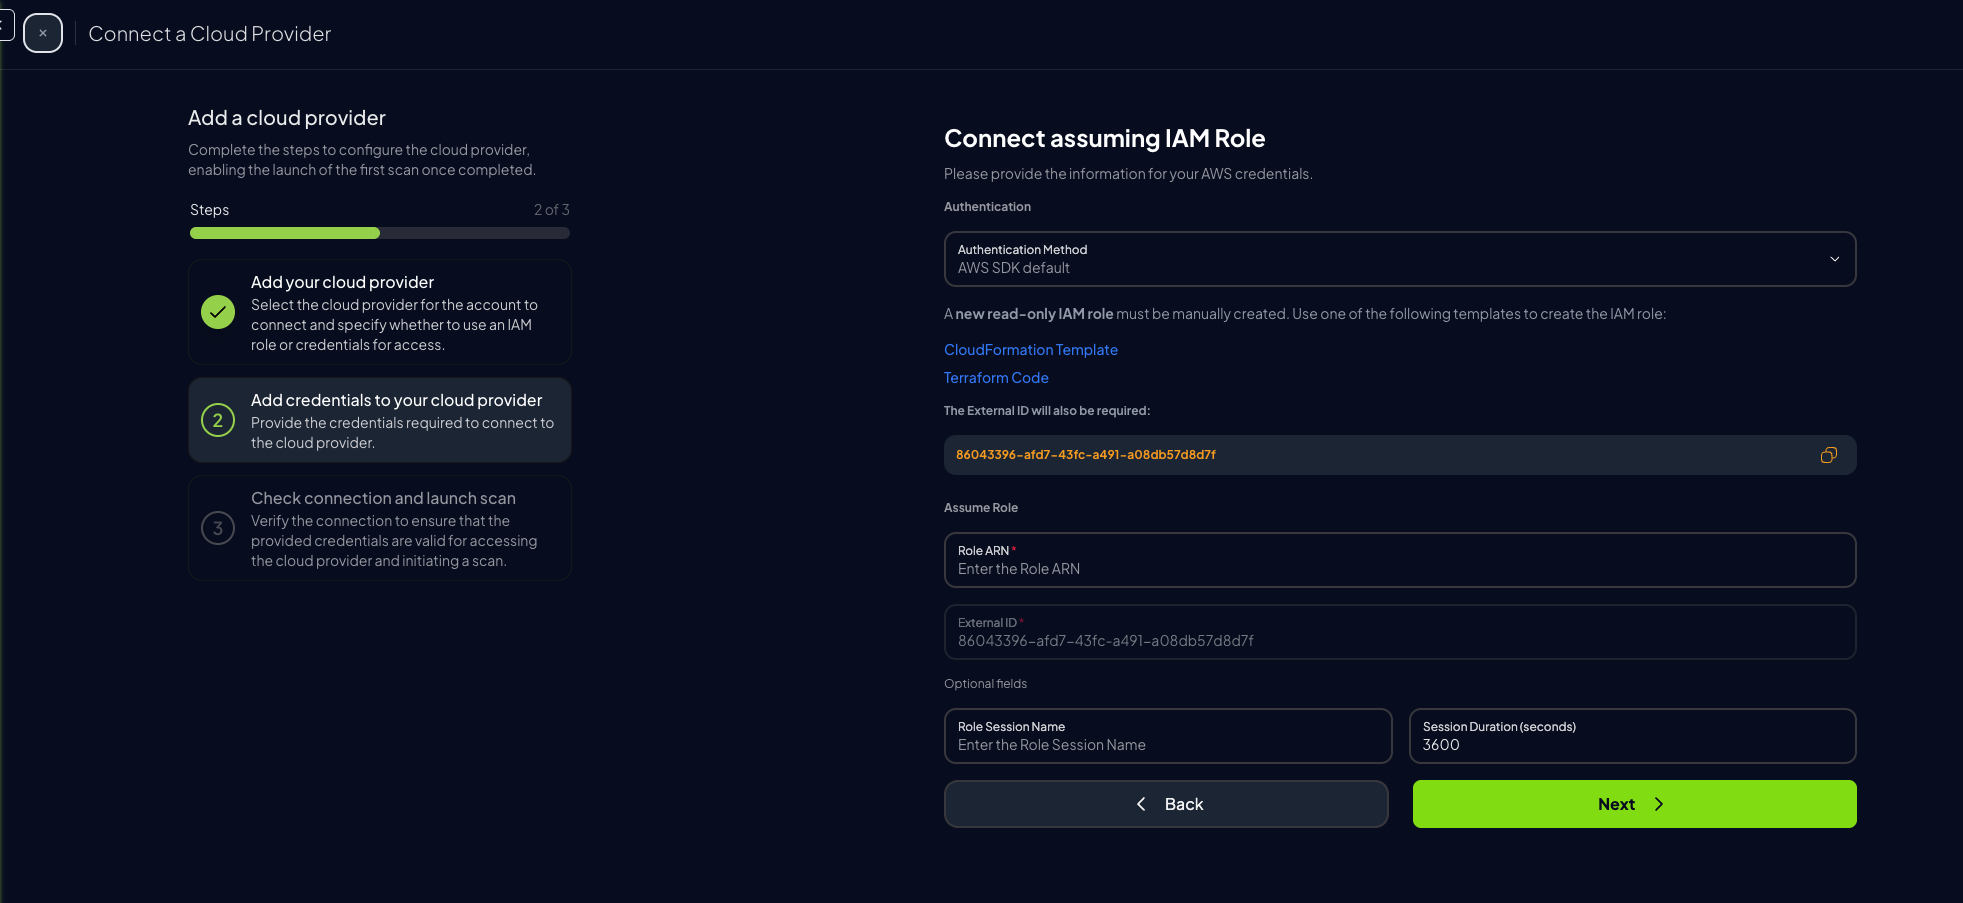
-
Once the role is created, go to the IAM Console, click on the “ProwlerScan” role to open its details:
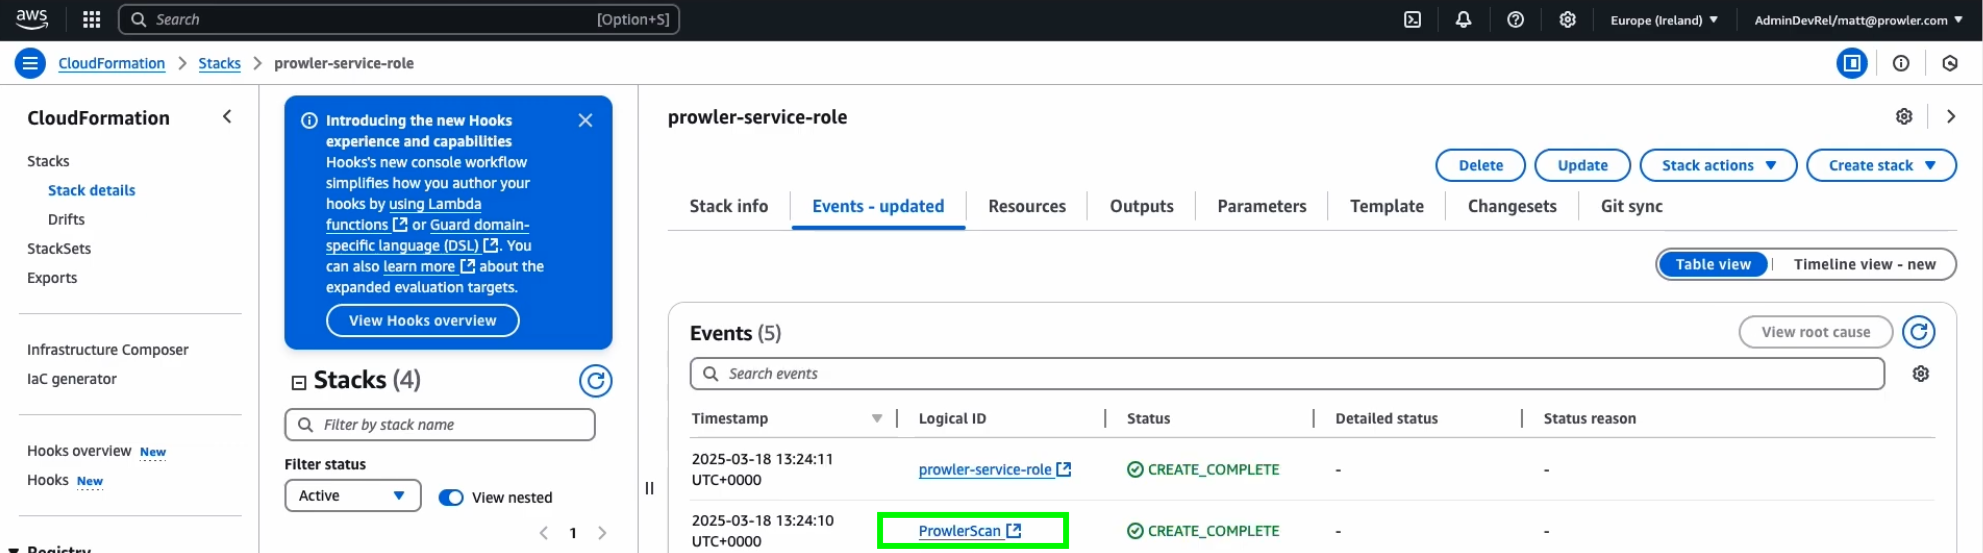
-
Copy the Role ARN

-
Paste the ARN into the corresponding field in Prowler Cloud or Prowler App
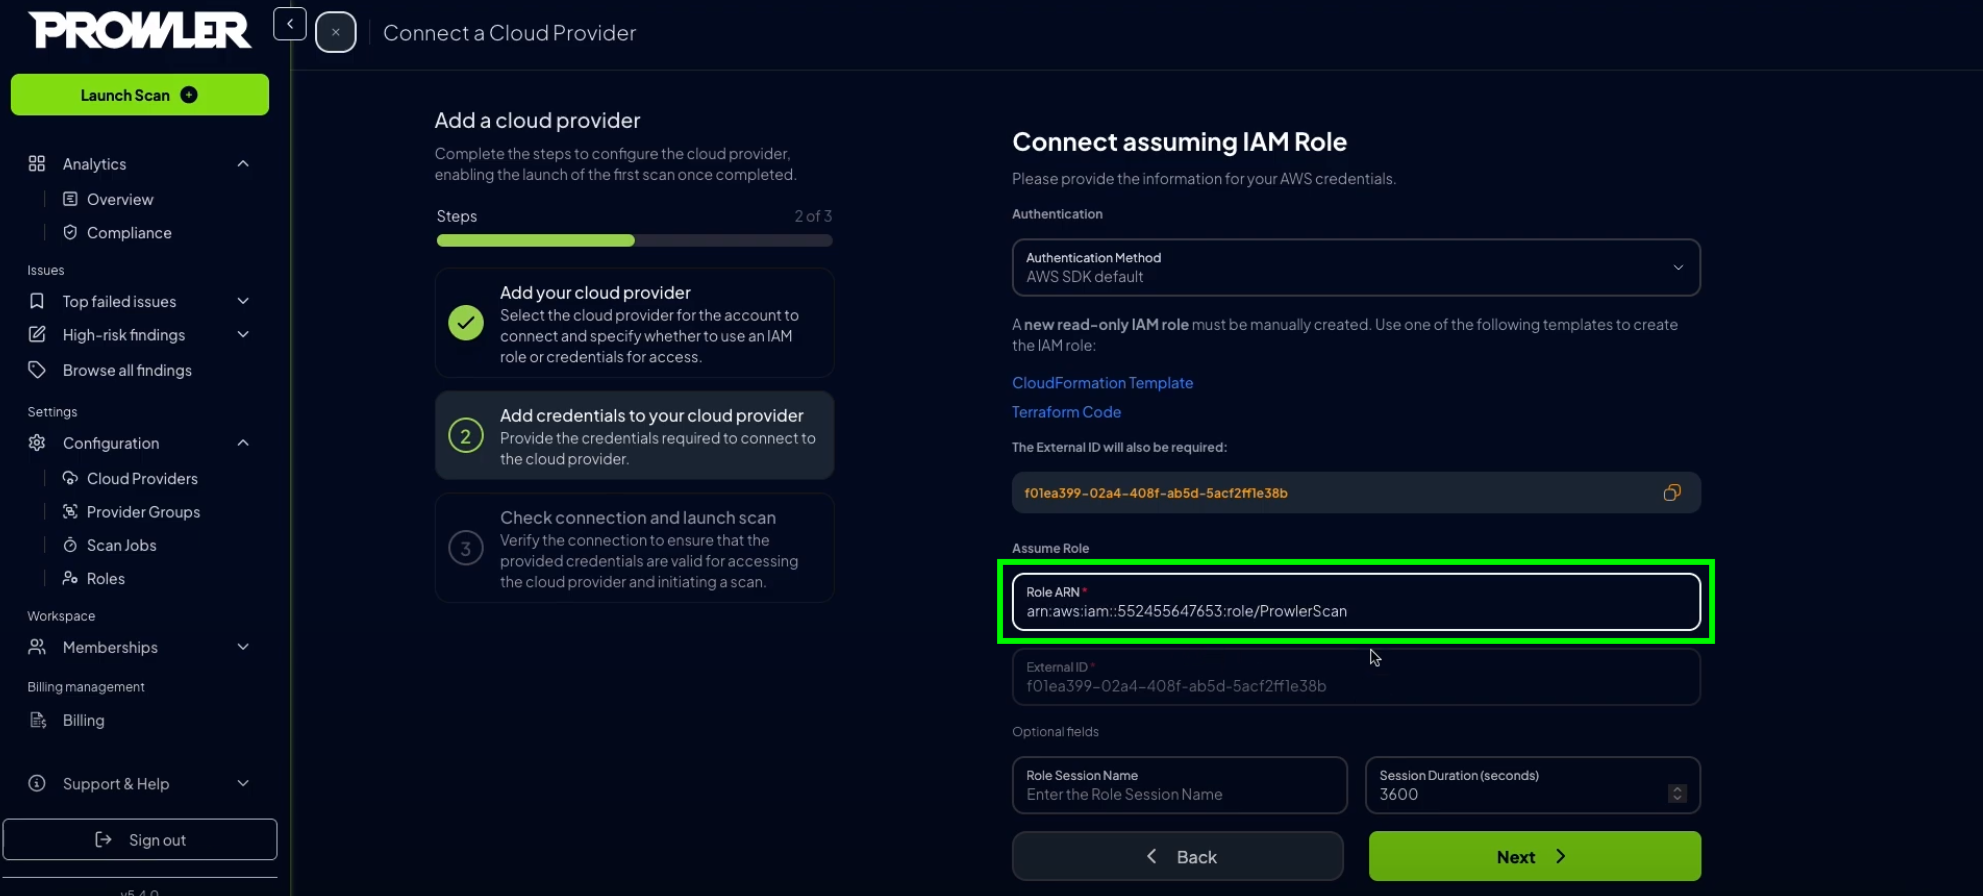
-
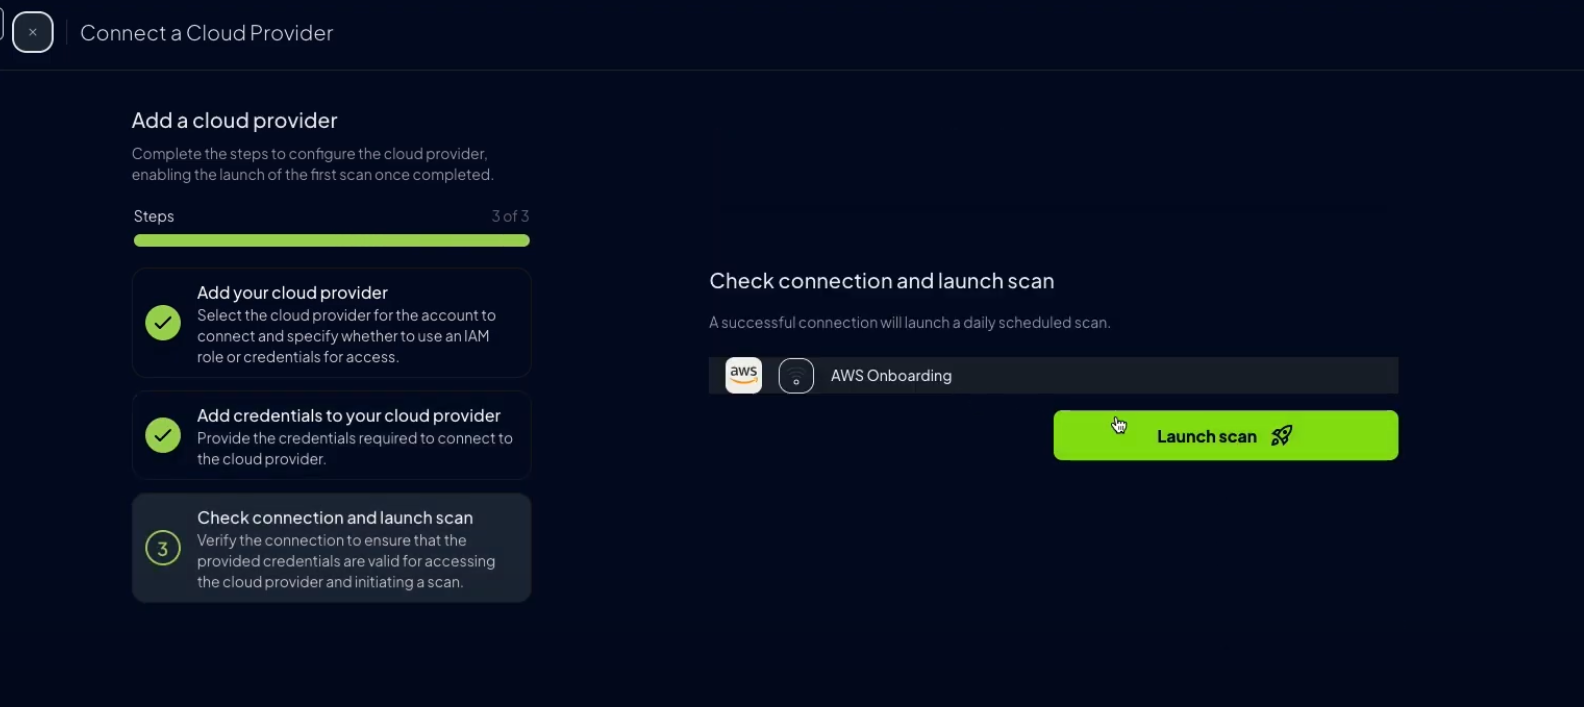
Click “Next”, then “Launch Scan”
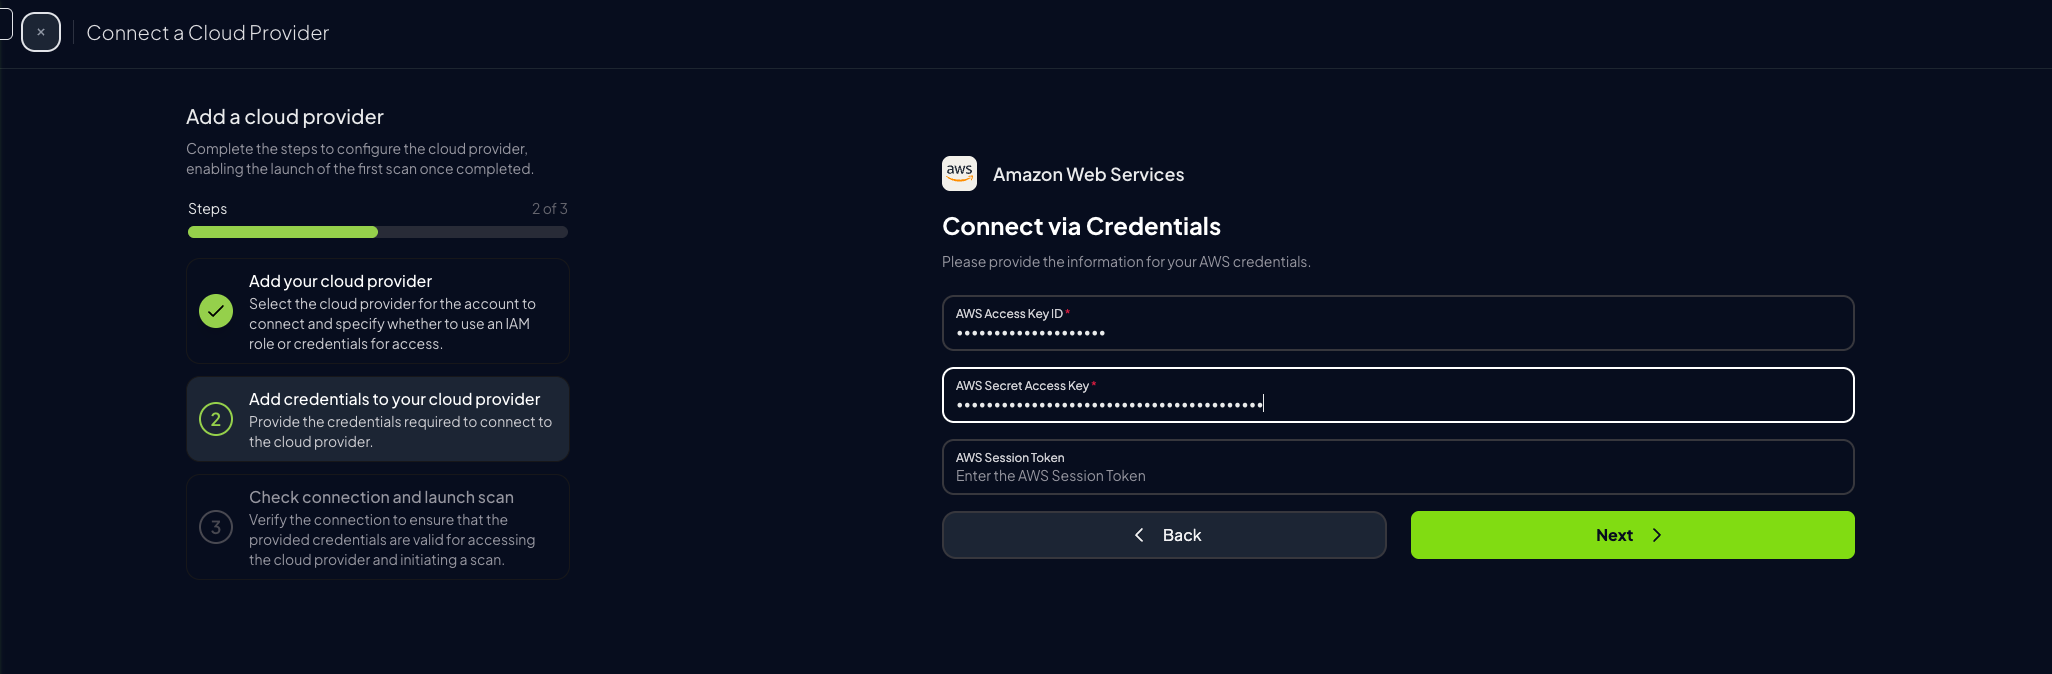
Credentials (Static Access Keys)
AWS accounts can also be configured using static credentials (not recommended for long-term use):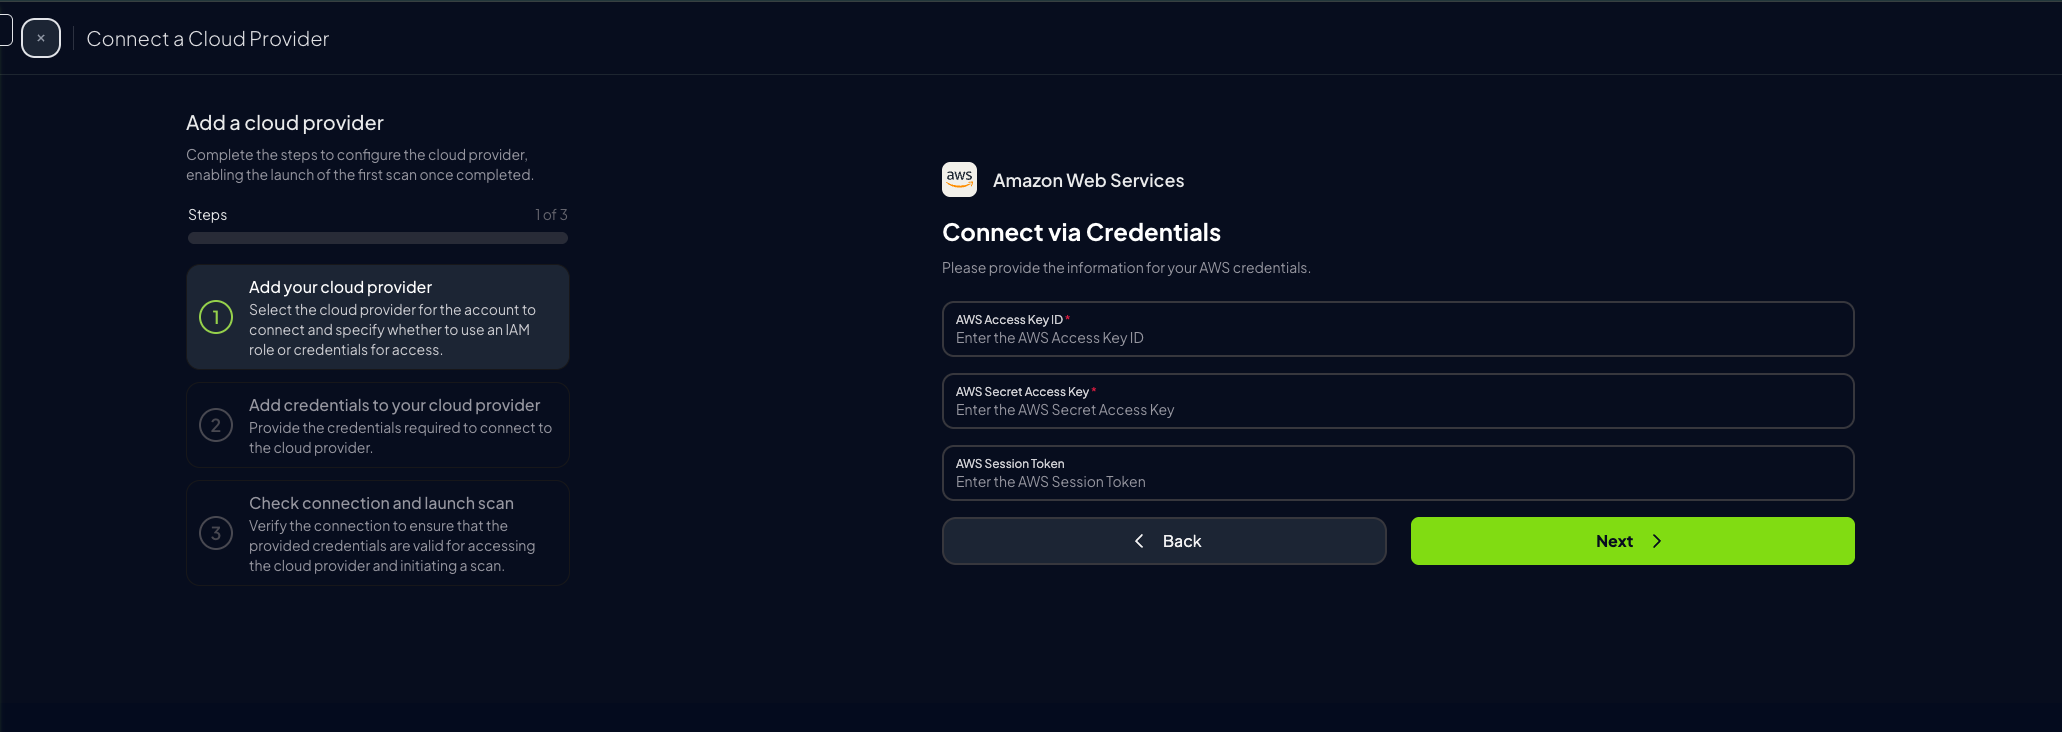
-
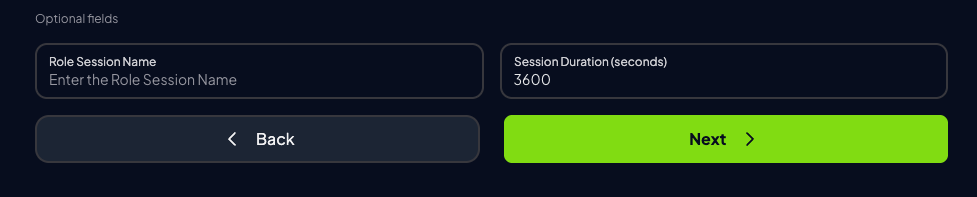
Complete the form in Prowler Cloud or Prowler App and click “Next”
-
Click “Launch Scan”
Prowler CLI
Configure AWS Credentials
To authenticate with AWS, use one of the following methods:AWS Profiles
To use a custom AWS profile, specify it with the following command:Multi-Factor Authentication (MFA)
For IAM entities requiring Multi-Factor Authentication (MFA), use the--mfa flag. Prowler prompts for the following values to initiate a new session:
- ARN of your MFA device
- TOTP (time-based one-time password)